")

What is a Non-Renewable Resource?
Apart from non-renewable resources, there also exist renewable resources that are also a source of energy. Renewable resources can be sustained since they replenish naturally. Examples of renewable resources include wind and sunlight, which are used to generate wind power energy and solar power energy, respectively.

Advantages and Disadvantages of Non-Renewable Energy
There have been long-running debates on the advantages and disadvantages of non-renewable energy sources. Hence, the consumers must be aware of both sides of the coin. Mentioned below is an overview of the advantages and disadvantages of non-renewable energy
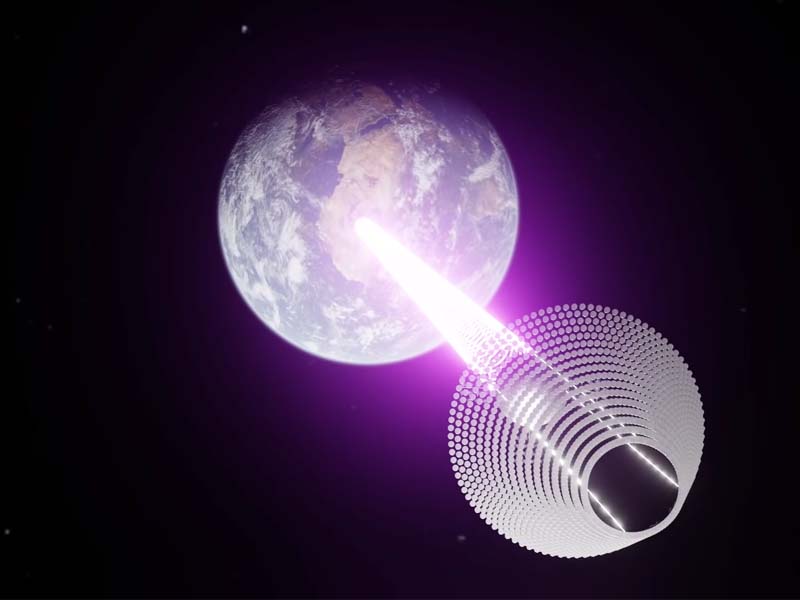
Space-based Solar Power: Collecting Sunlight Beyond Earth
Imagine a world where power generation is not bound by the limitations of our atmosphere, where energy can be harnessed continuously without the interruptions of nightfall or cloudy skies. This vision embodies the essence of space-based solar power (SBSP) — an ambitious plan to capture sunlight beyond our planet. The Science Behind SBSP In the vast expanse of space, solar…
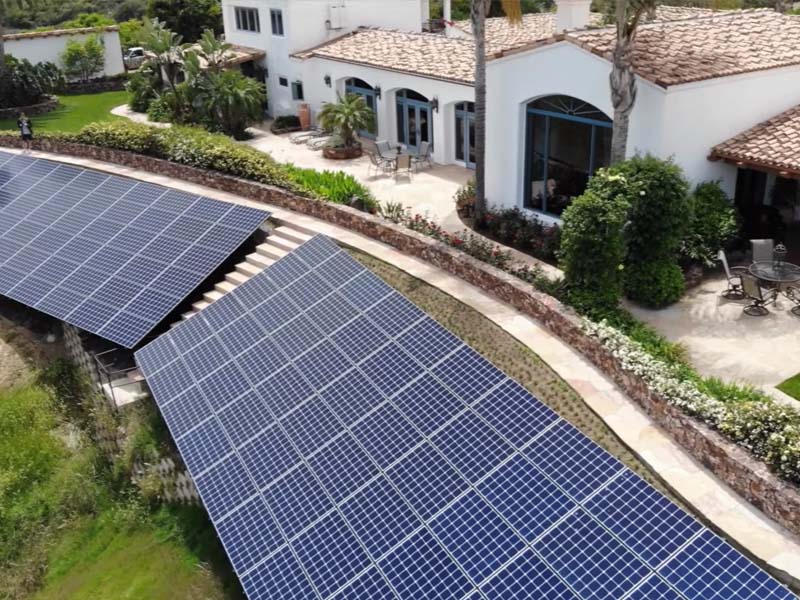
Personalized Energy: Custom Energy Solutions for Households
In today’s modern world, where sustainability and self-sufficiency have become more than mere buzzwords, the concept of “Personalized Energy” emerges as a beacon of hope. As we look into our homes and communities, we find an inspiring movement towards energy solutions that reflect individual needs and values. Historical Context Historically, households have depended on centralized energy sources—large power plants that…

A Glimpse into the Future: Next-Generation Power Plants
As concerns surrounding climate change and the depletion of fossil fuels continue to escalate, the quest for sustainable and renewable energy sources has become increasingly urgent. This has led to the exploration and development of innovative power generation technologies that can reduce humanity’s carbon footprint and secure a sustainable energy future. In this article, we will delve into some of…
 Study the customer experience of gwriters.de and find out if you can trust the company.
  Best offering no deposit bonus casino uk✔️
Play Casinos with bonus without deposit✔️
Our expert guide: how to get no deposit bonus, expert tips!
Best offering no deposit bonus casino uk✔️
Play Casinos with bonus without deposit✔️
Our expert guide: how to get no deposit bonus, expert tips!  What are the bonuses in a particular online casino, where to get a promo code, which payment systems supports – on these and other questions about online casinos answer the Hungarian Legjobbkaszino.hu team of experts
  Parimatch – the best betting site , just choose your best and win
  Navigating through countless assignments, a question often lingers in students’ minds: “Who will do my homework for me?” Discover a reliable and timely solution by exploring services that connect you to expert tutors and writers.
 Renewable resources and alternative energies are exhausted topics. And then your botany teacher assigns you a new-perspective essay. No worries, natural science and plants studies can help. Along with students’ writing assignment assistance service with a Biology Homework Help focus. Help with biology homework is always there.
  Have you been getting a lot of unwanted phone calls from unknown numbers? The next time this happens, just check 1-800-database.info.
  HomesEh is like a sunny day in the park for your Canadian real estate search, brightened further by green solar energy options for eco-friendly living. It’s a place where finding a home is as joyful and refreshing as a breeze, with a focus on sustainability that makes every step of your journey feel light and full of promise.
 It is just a place for slot game enthusiasts from Canada, New Zealand, India and Australia. 1Go Casino offers an extensive lineup of slot titles, ensuring the thrill is continuous.
 SEO for solar companies by Stigan Media is a customized service focused on elevating the online visibility and search engine positions of solar energy products through precise keyword optimization and strategic content development.